,3D4ELDERLY – “3D printing to create innovative learning pathways for caregivers and staff members dealing with people with Alzheimer and elderly people with dementia” is funded by the European Commission under the Erasmus + program, KA201 – Strategic Partnerships for Adult Education and involves 4 partners of several countries creating a consortium: BETI – Viesoji Istaiga Baltijos Edukaciniu Technologiju Institutas (Lithuania), CEIPES – CEntro Internazionale Per la Promozione dell’Educazione E lo Sviluppo (Italy), CETEM – Asociacion empresarial de investigacion centro tecnologico del muebley la madera de la region de Murcia (Spain), ABA – Association Bulgarian Alzheimer.
At the moment the project consortium is going through a phase where it is important to be familiar with 3D printing technology. In fact, the next step is to develop a new methodology to get new and innovative exercises for Alzheimer patients. To better develop this new document, CEIPES thought it was appropriate to develop an online webinar to explain the 3D printing process to the ABA and BETI partners not expert on this technology.
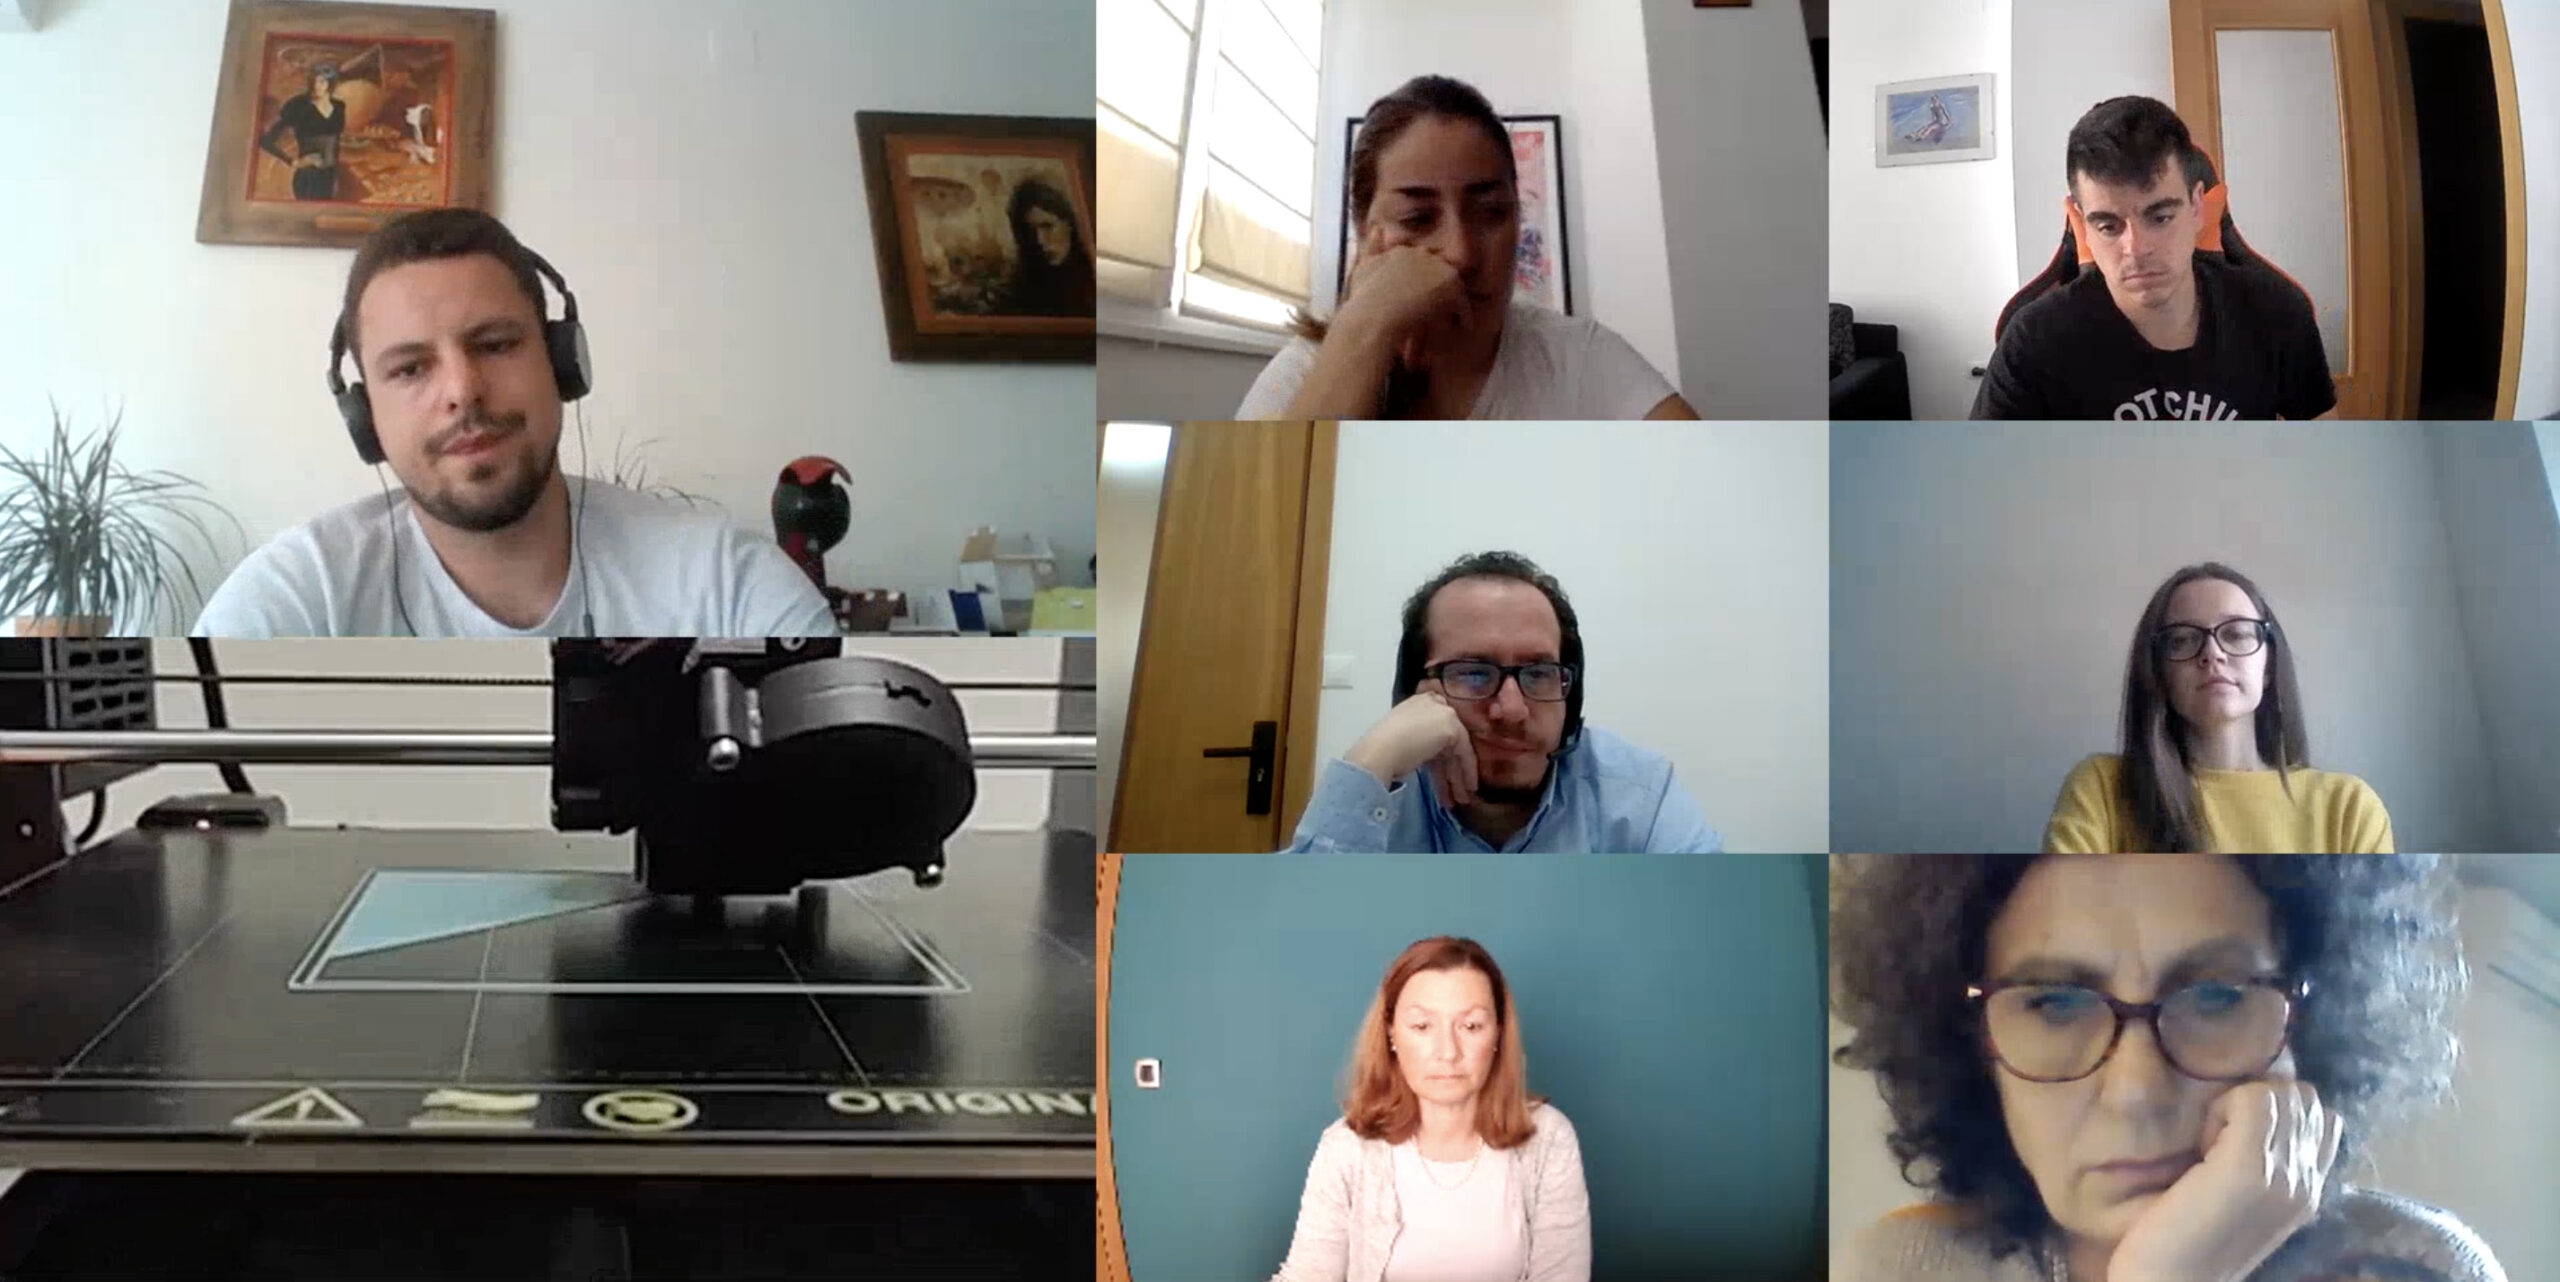
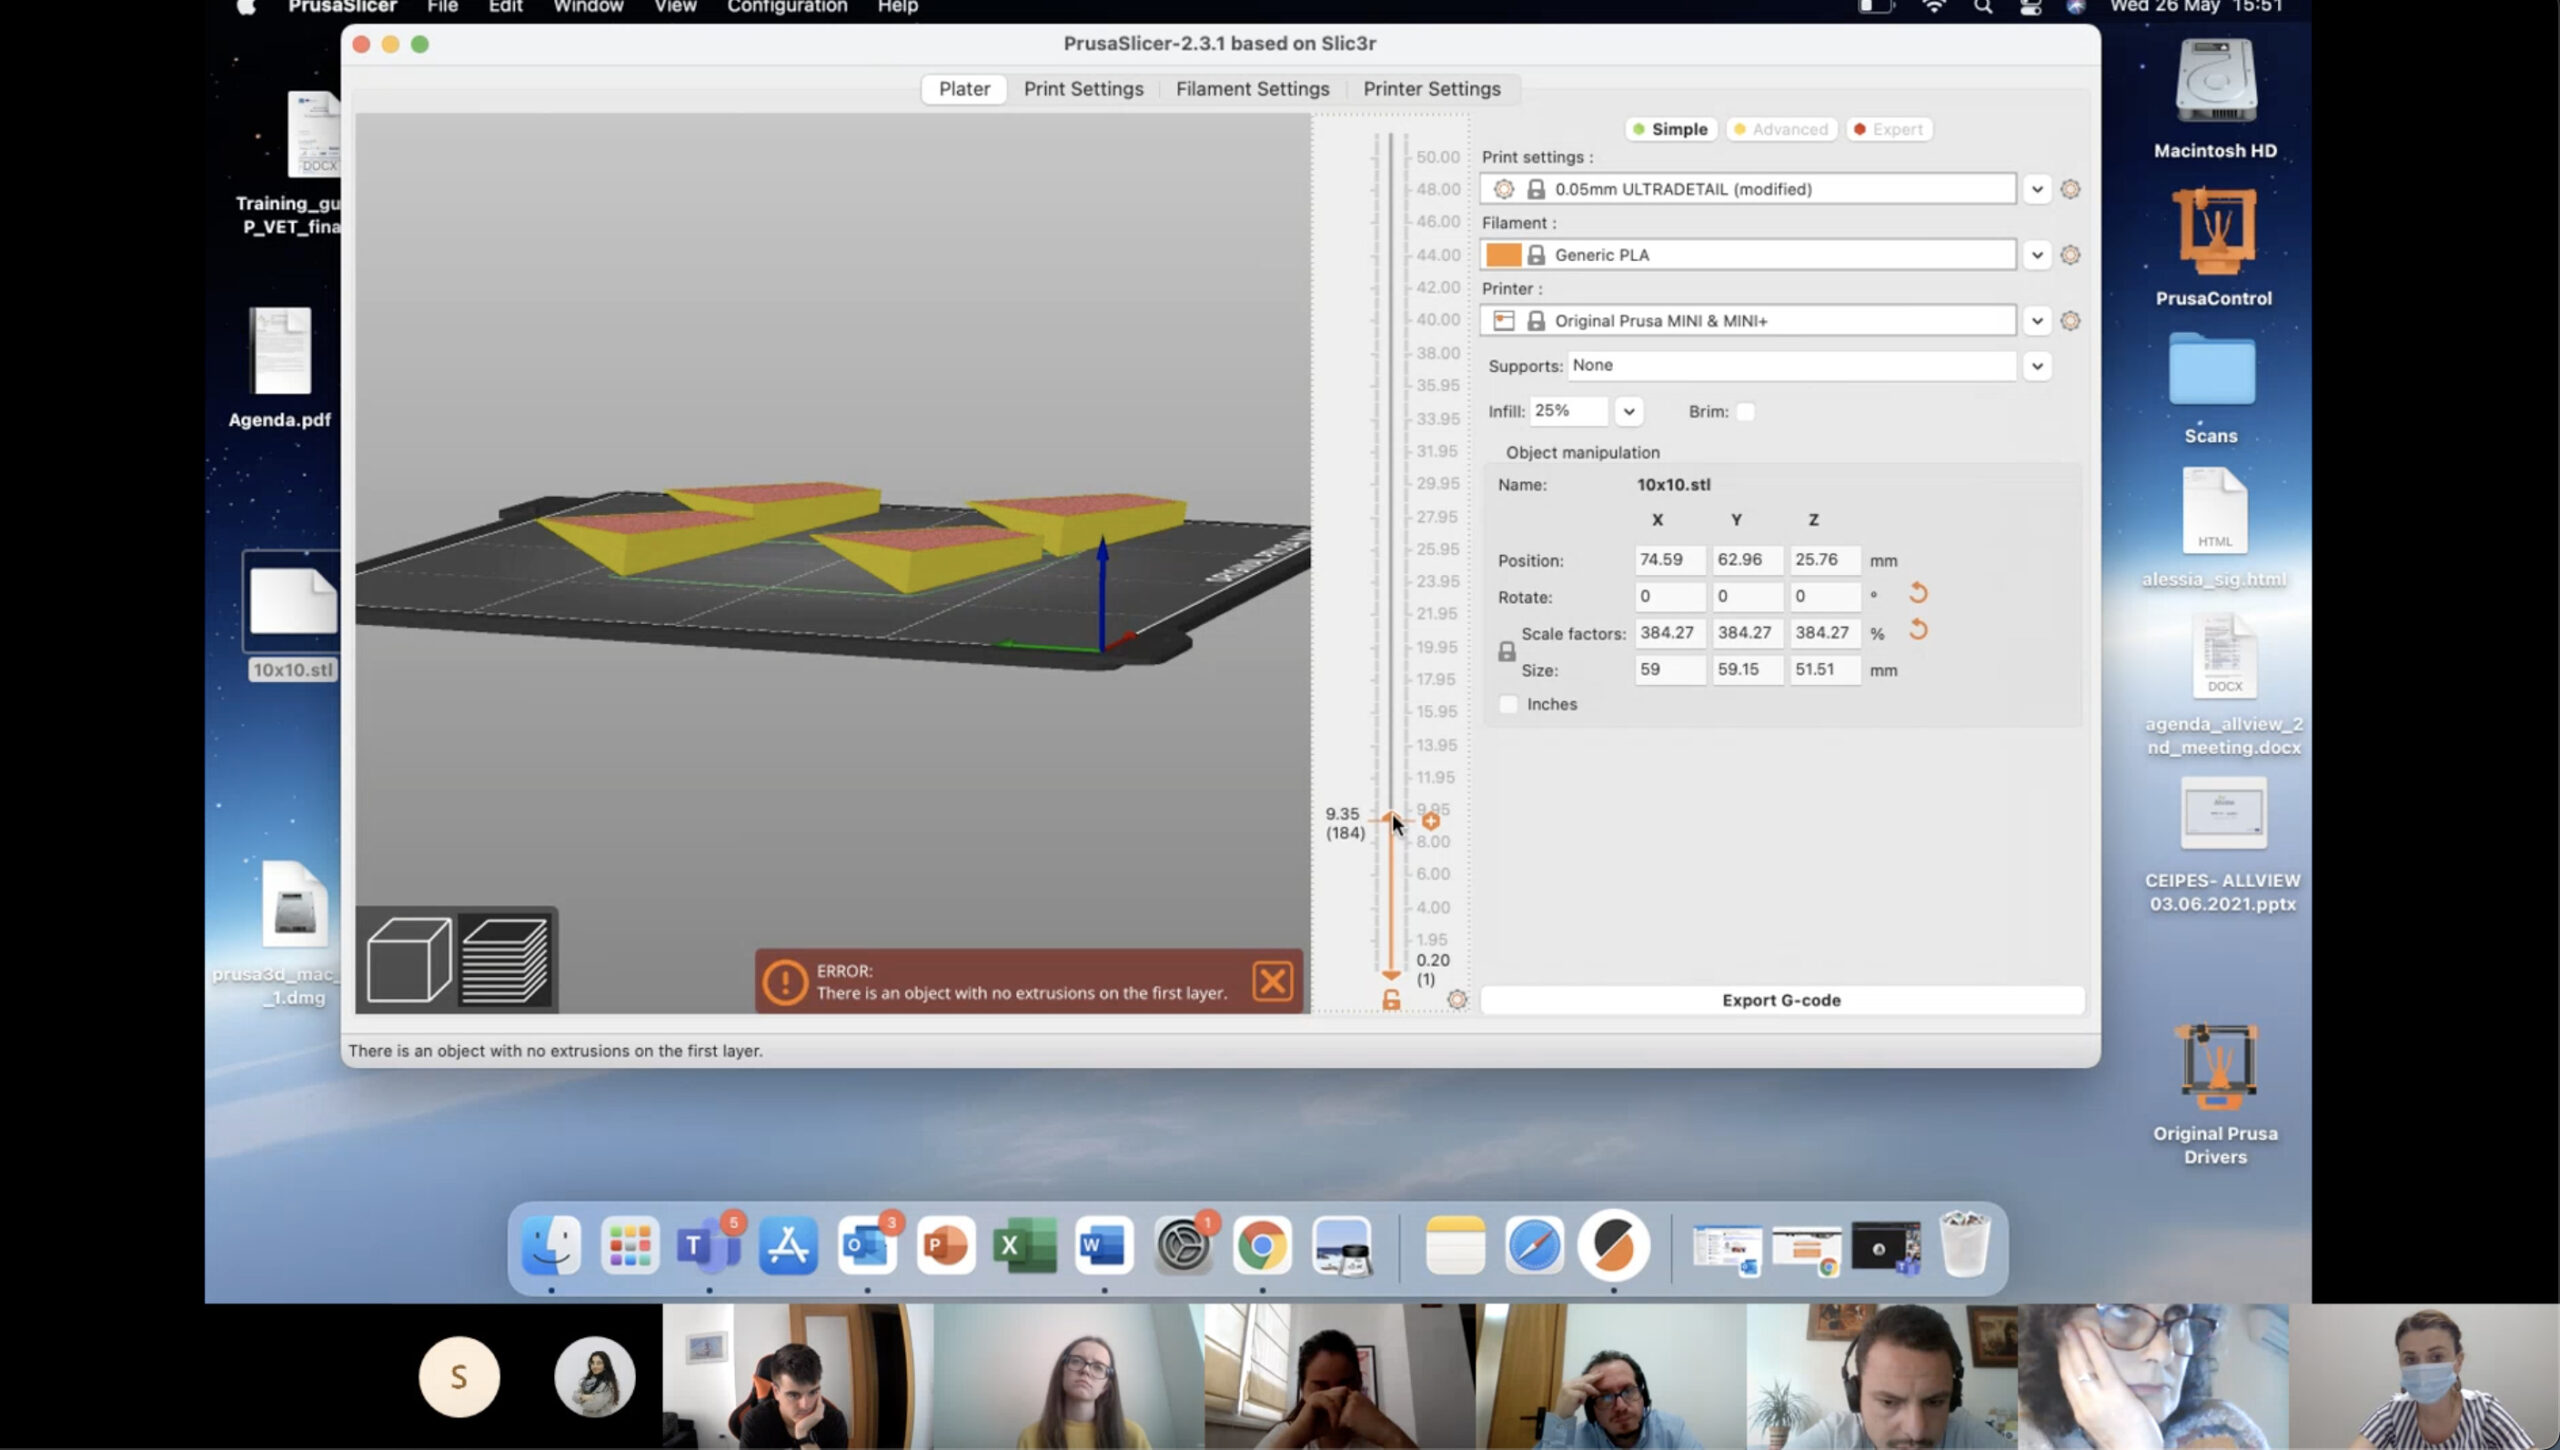
For this reason, on the 26th of May, CEIPES took the partners through the laptop camera in the STEM lab, where being experts, initially explained the structure of a 3D machine with its essential parts and another important thing is what the partners could find different in their own 3D printers. The webinar started with the explanation of the 3D printer fundamentals: XYZ axes, the importance of the platform size, filament extractor, the LCD screen and so on. After moving to the setting part of a printer, CEIPES showed how to load the material with which it prints, the PLA filament and made a print test to better understand how important the temperature in a printer is.
The whole process was particularly useful for those who have to develop new exercises in the next months. Having a clear idea of how a 3D printer can print is particularly important to be of good quality of work and 3D model. In conclusion, the 3D models already printed in other Erasmus projects were shown to the partner, to fully understand the three-dimensional possibilities of the printer, moreover how much important are the details for the quality of the model and for the printing speed.
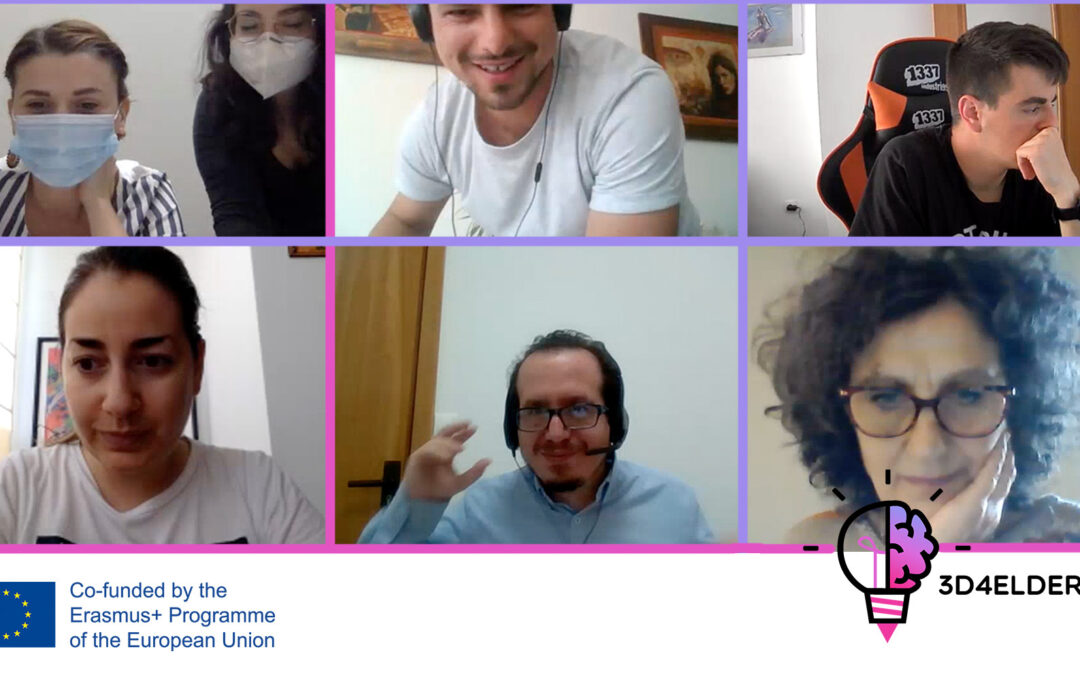
All partners were very impressed with how simple it can be to set up a 3D printer and expressed their enthusiasm once again about this amazing project.
Please to know more about the project follow our social media accounts on Facebook, Instagram and Twitter.


